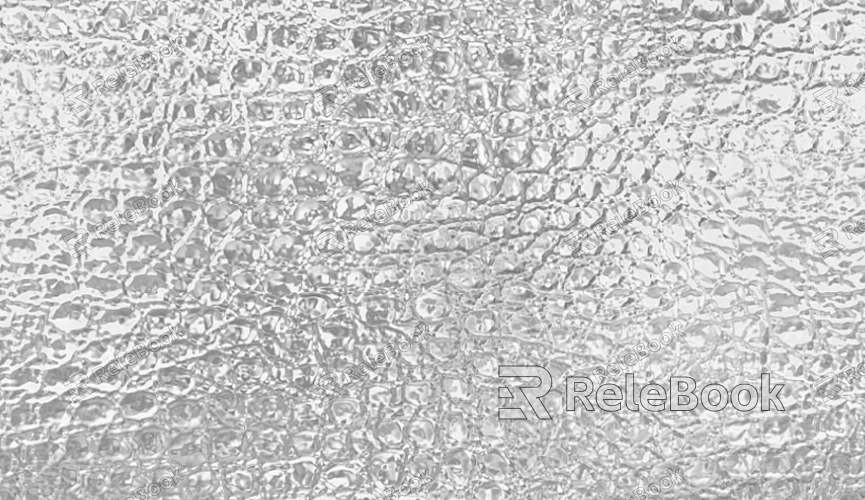
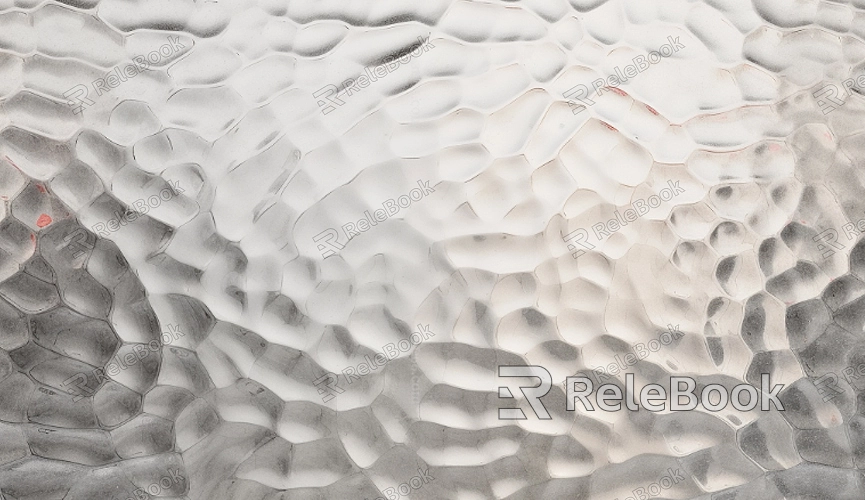
How to Make a Glass Texture in Unreal Engine 4?
Creating realistic glass materials in Unreal Engine 4 (UE4) can be challenging but highly rewarding, as glass surfaces are often featured in architectural designs, interior visuals, and game environments. The key to achieving a convincing glass texture in UE4 lies in understanding the material properties of glass and the technical components of the engine itself. This article explores how to effectively create a glass texture in UE4, taking you step by step through the material creation process while addressing common challenges developers and designers face.

Understanding Glass Material Properties
Before diving into UE4, it’s crucial to understand the basic properties of glass. Glass is a transparent, reflective, and refractive material, typically featuring a smooth, shiny surface. It allows light to pass through, bends the light as it refracts, and also reflects its surroundings. The key to achieving a convincing glass texture is simulating these physical properties accurately within the material editor of Unreal Engine.
1. Transparency
The first aspect to focus on is the transparency of glass. Unreal Engine 4 offers several methods for achieving transparency, but the most common approach for glass is to use the "Refraction" node in the material editor. This node allows light to pass through the material and bend, creating the illusion of refraction.
2. Reflection
Glass materials also feature a high level of reflection. This can be achieved by manipulating the "Specular" and "Metallic" properties within UE4. Glass typically has a high specularity, making it appear shiny, while its metallic properties are low. Reflecting the environment, particularly with dynamic lighting, is essential for creating realistic glass in UE4.
3. Refraction
Refraction is another crucial element in creating realistic glass textures. The way light bends as it passes through glass is not only a physical phenomenon but also an aesthetic one. Unreal Engine offers tools like the "Refraction" input in the material editor to simulate the bending of light. This gives the glass a believable appearance when looking through it, especially at angles.

Creating the Glass Material in UE4
With an understanding of glass’s material properties, we can now start creating the glass material within UE4.
Step 1: Setting Up a New Material
Start by creating new material in the UE4 Content Browser. Right-click in the Content Browser, select “Material,” and give it a name, such as "Glass_Material." Double-click the new material to open the Material Editor.
Step 2: Adjusting the Base Properties
In the material editor, you’ll first need to adjust the following properties:
Blend Mode: Set the Blend Mode to "Translucent" to allow for transparency.
Shading Model: Set the Shading Model to "Default Lit" for basic lighting calculations.
Metallic: Set this to a low value (0.0 to 0.1) to ensure the glass appears non-metallic.
Specular: Set this to a high value (0.8 to 1.0) to give the glass its reflective properties.
These adjustments create a basic foundation for your glass material. However, glass also requires additional elements like refraction and reflectivity to make it look more realistic.
Step 3: Adding Refraction
To simulate refraction, use the “Refraction” input in the material editor. This input controls how much light bends as it passes through the glass. Typically, glass has a refraction value of around 1.5, so a value of 1.5 in the "Refraction" node should be sufficient to create a realistic effect. However, you can tweak this value to achieve the desired level of refraction for your specific material.
Step 4: Creating the Reflection Effect
Next, you’ll need to add reflection to your material. This can be done by using a “Fresnel” node. The Fresnel node helps to simulate the way light reflects off the surface of the glass, especially at glancing angles. Connect the Fresnel node to the “Base Color” or “Emissive Color” to apply the reflection effect. For a more realistic reflection, you can also integrate the “Scene Texture: Reflection” node, which captures real-time reflections from the scene.
Step 5: Fine-Tuning Transparency
Now, adjust the transparency by connecting the “Opacity” input to a value that determines how transparent the glass will be. You may also want to use a texture map (e.g., noise texture) for a more dynamic opacity effect, especially if you're simulating frosted or dirty glass.
Enhancing the Glass Material
While the basic steps outlined above will get you started, there are several ways to enhance the glass material and achieve a more realistic look.
1. Adding a Reflection Capture
To improve the reflections on the glass surface, you’ll want to add a "Reflection Capture" actor to your scene. Reflection captures improve the quality of reflections, especially for materials like glass that are highly reflective. These actors simulate the environment and help create dynamic and believable reflections on your glass surfaces.
2. Adjusting Roughness and Specular
The roughness of glass determines how smooth or rough the surface appears. Glass generally has a very low roughness value, meaning it should appear smooth and reflective. However, for materials like frosted glass, you can increase the roughness slightly to give the surface a blurred or diffused reflection. Fine-tuning the roughness and specular values will greatly impact how polished or matte the glass surface looks.
3. Adding Imperfections and Detailing
Real-world glass surfaces aren’t perfect. To add realism, you can introduce imperfections such as scratches, dirt, and smudges. These can be achieved by using a normal map, a roughness map, or even a custom texture that simulates these imperfections. You can also adjust the transparency in different areas of the texture to simulate condensation or water droplets.
Optimizing Glass Materials for Performance
Glass materials can be computationally expensive, especially when using refraction and reflections. To ensure that your glass doesn’t negatively impact performance, consider the following optimization techniques:
1. Using Lower Resolution Textures
For large glass surfaces, such as windows or walls, consider using lower-resolution textures or simplified shaders. This will reduce the load on the GPU while still maintaining a visually appealing look.
2. Avoid Overusing Refraction
While refraction is an important component of glass materials, excessive use of it can negatively impact performance. Keep refraction values minimal, and consider using tricks like faking refraction with distortion maps if possible.
3. Simplifying Reflection Techniques
Instead of using real-time reflections, you can use static reflection probes or pre-rendered cube maps for glass materials. This can significantly improve performance, especially for static glass objects that don’t require dynamic reflections.
Troubleshooting Common Glass Material Issues
While creating a glass texture in UE4, you may encounter a few common issues. Here are some troubleshooting tips:
1. Glass Appears Too Transparent or Too Opaque
If your glass is too transparent or opaque, check the values connected to the "Opacity" input. Adjusting these values or using a texture to drive opacity can help achieve the right level of transparency.
2. Glass Doesn’t Reflect Properly
If the reflections on your glass surface are too weak or nonexistent, make sure that you’ve connected the Fresnel and Reflection nodes correctly. You may also need to adjust the reflection capture settings in your scene to improve the quality of reflections.
3. Refraction Looks Strange
If the refraction appears distorted or unnatural, try adjusting the refraction index value. A typical glass material should have a refraction value of around 1.5. Additionally, check if your glass material is placed properly in the scene to avoid distortions from certain camera angles.
Creating realistic glass materials in Unreal Engine 4 is both an art and a science. By understanding the material properties of glass and using UE4’s powerful material editor, you can craft glass textures that add a high level of realism to your environment. Whether you're simulating windows, glassware, or decorative glass elements, the techniques outlined in this article provide a solid foundation for achieving your desired effect. If you’re looking to expand your library of textures and models, head over to Relebook to download a wide variety of 3D assets and textures to enhance your projects.
FAQ
How do I make frosted glass in UE4?
To create frosted glass, you can adjust the roughness value of the material to a higher value, such as 0.3 to 0.5. This will blur the reflections and give the glass a frosted, opaque appearance. You can also use a texture map to control roughness or opacity in specific areas.
Why is my glass material not reflecting the environment?
Ensure that you’ve added a "Reflection Capture" actor to your scene. If reflections are still weak, check the "Specular" and "Metallic" values in the material editor to make sure they are set appropriately for glass.
Can I use a custom texture for the glass’s transparency?
Yes, you can use a custom texture for opacity to create effects like tinted glass, frosted glass, or glass with imperfections. Just connect the texture’s alpha channel to the "Opacity" input in the material editor.

